3. CallScripter Installer Wizard
The installation process will be carried out on the CallScripter web server. In order to successfully install the application the web server will need to have direct access to the SQL server. The CallScripter database will be created remotely from the web server during the installation using Microsoft command lime utilities 11 for SQL server.
Step 1: Preparing Setup Files
Wait whilst the installer prepares the setup files and installation process (this should take no longer than 30 seconds). When the first page of the installer appears select the Add New Instance option to proceed.
|
Add New Instance
|
This button will allow you create a new CallScripter web site instance
|
|
Upgrade Existing Instance
|
This button will allow you to upgrade an instance of CallScripter
|
|
Uninstall Instance
|
This button will remove an instance of CallScripter
|
|
Exit
|
This button will exit the installer without installing CallScripter
|
|
Language
|
This option allows the user to choose which language to present the installer steps
|
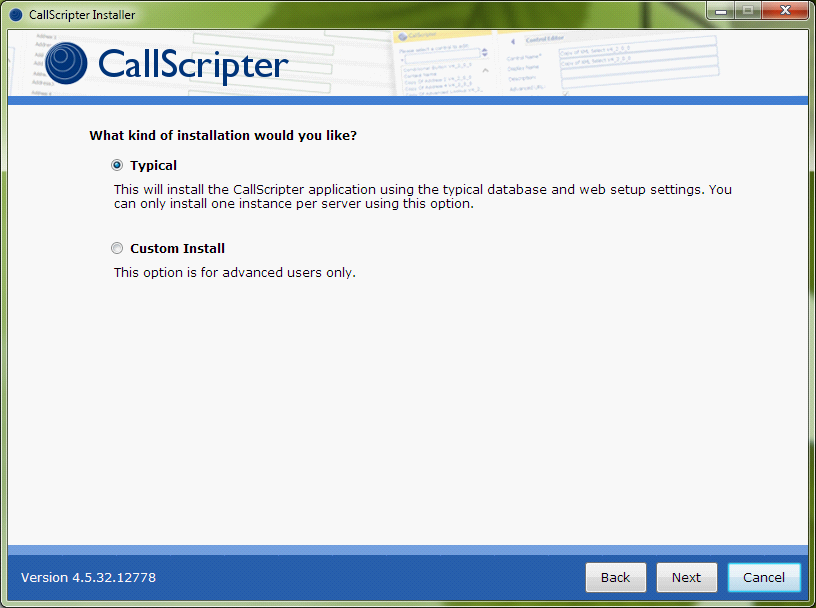
Step 2: Installation Type
This step will ask which route the user wishes to take through the installation process. The typical installation route will make assumptions pre-configure some aspects of the installation to what CallScripter deems defaults settings. Some users will want to configure all aspects of the installation process so can choose the custom installation route to be shown all steps of the installation process.
|
Back
|
This will take the user back one stage in the installation process
|
|
Next
|
This will progress the user onto the next stage of the installation
|
|
Cancel
|
This button will exit the installer without installing CallScripter
|
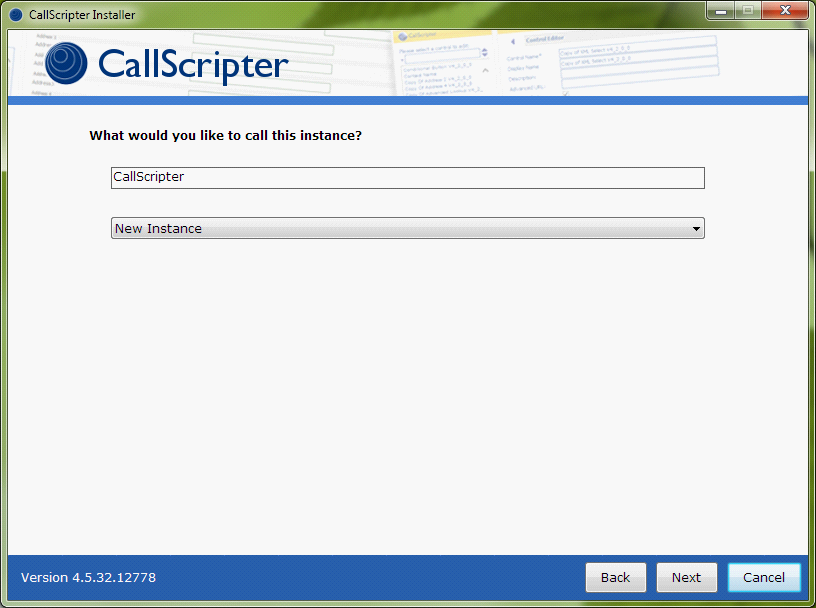
Step 3: Website Name
This stage will ask for the name of the website that will created within IIS to host the CallScripter web files. If more than one CallScripter instance has been previously configured on the web server the drop down will allow the settings used last time to auto populate this installation
|
Back
|
This will take the user back one stage in the installation process
|
|
Next
|
This will progress the user onto the next stage of the installation
|
|
Cancel
|
This button will exit the installer without installing CallScripter
|
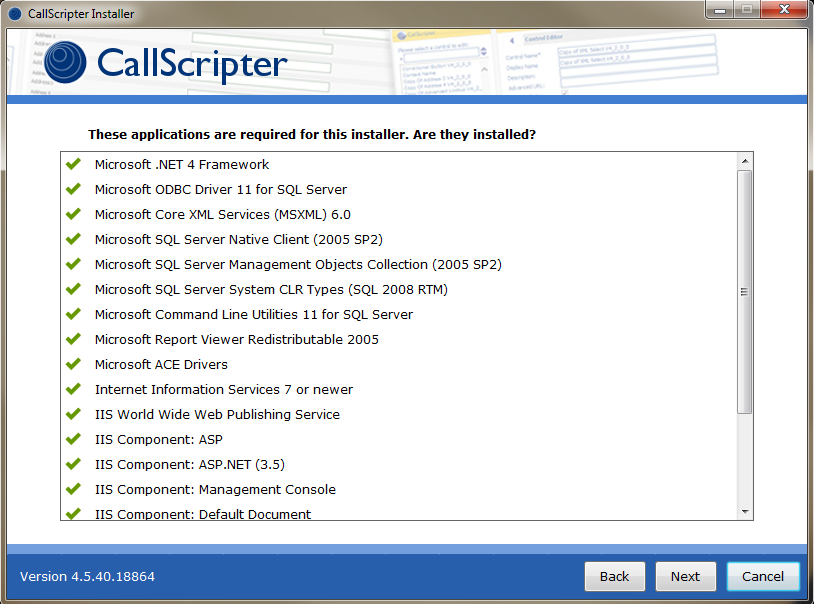
Step 4: Prerequisites Check
The installer will perform a prerequisites check to make sure all the components and setup required to support the CallScripter application have been installed/configured. If any prerequisite is missing, warnings will be displayed or download options presented to allow them to be installed/configured - any missing components can be installed using the default options in the component installer package. Any Internet Information Services (IIS) components listed as required are configured within the Microsoft Windows Server feature and roles configuration tool. Once each item has been installed, press the refresh icon next to the component to have the installer verify correct installation.
The wizard will disable the next button until all prerequisites are satisfied.
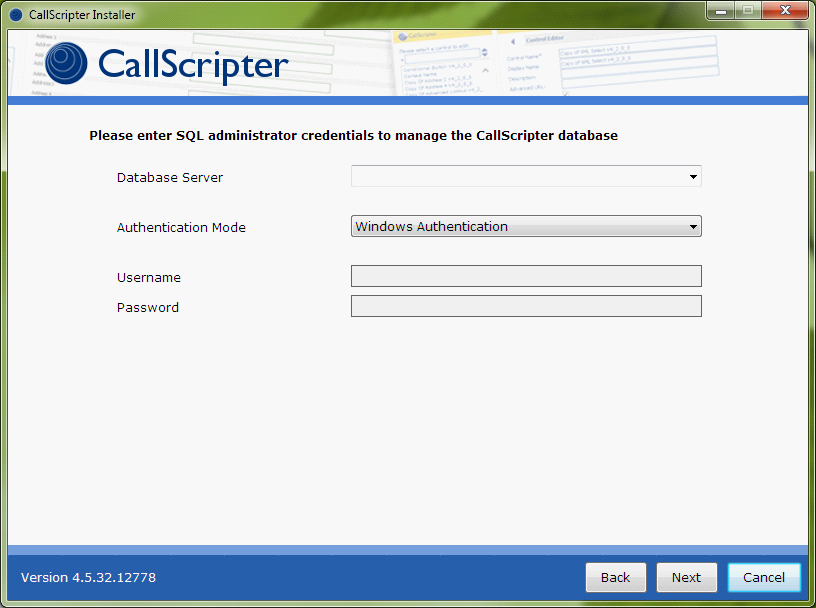
Step 5: SQL Server Credentials
Enter the credentials of the SQL server you wish to create the CallScripter database within. The username/password entered will need sufficient privileges to create databases, users and roles on the SQL server specified. These credentials are only used during the the system install and are not carried through to the application.
|
Back
|
This will take the user back one stage in the installation process
|
|
Next
|
This will progress the user onto the next stage of the installation
|
|
Cancel
|
This button will exit the installer without installing CallScripter
|
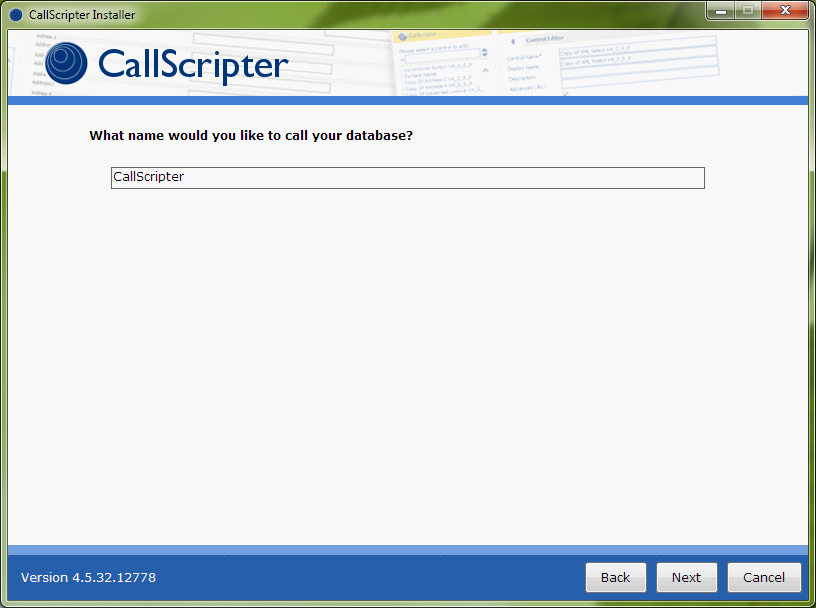
Step 6: Database Name
Enter the name of the CallScripter database that is to be created within SQL
|
Back
|
This will take the user back one stage in the installation process
|
|
Next
|
This will progress the user onto the next stage of the installation
|
|
Cancel
|
This button will exit the installer without installing CallScripter
|
NOTE: The name of an existing CallScripter database can be entered and the newly created CallScripter website will be associated with the previously created database.
Step 7: Data and Log File Locations (Custom Install Only)
This option is only presented during a custom installation.
If running in typical mode please progress to STEP 9.
Database data and log file locations will need to be approved or altered to suit the installation.
|
Back
|
This will take the user back one stage in the installation process
|
|
Next
|
This will progress the user onto the next stage of the installation
|
|
Cancel
|
This button will exit the installer without installing CallScripter
|
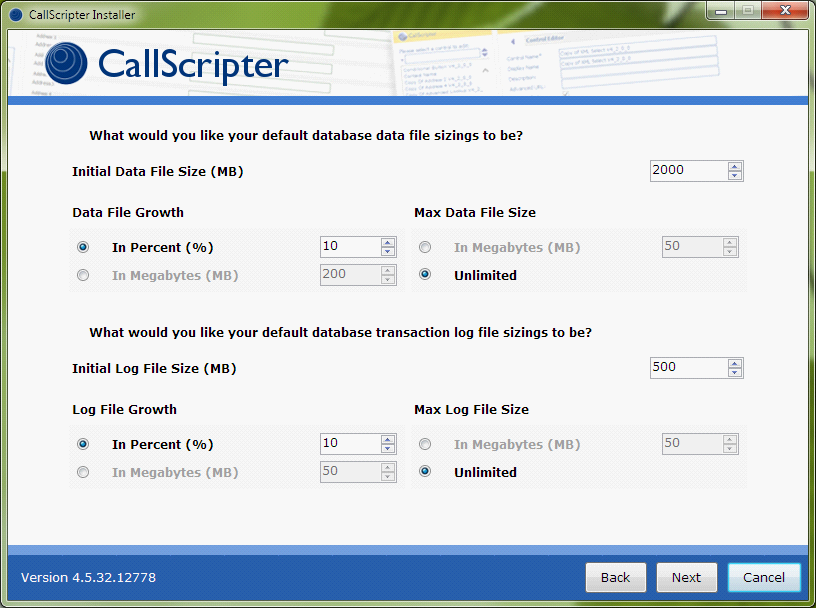
Step 8: Data and Log File Growth (Custom Install Only)
This option is only presented during a custom installation.
The size and growth rate of the log and data files will need to be approved or configured.
|
Back
|
This will take the user back one stage in the installation process
|
|
Next
|
This will progress the user onto the next stage of the installation
|
|
Cancel
|
This button will exit the installer without installing CallScripter
|
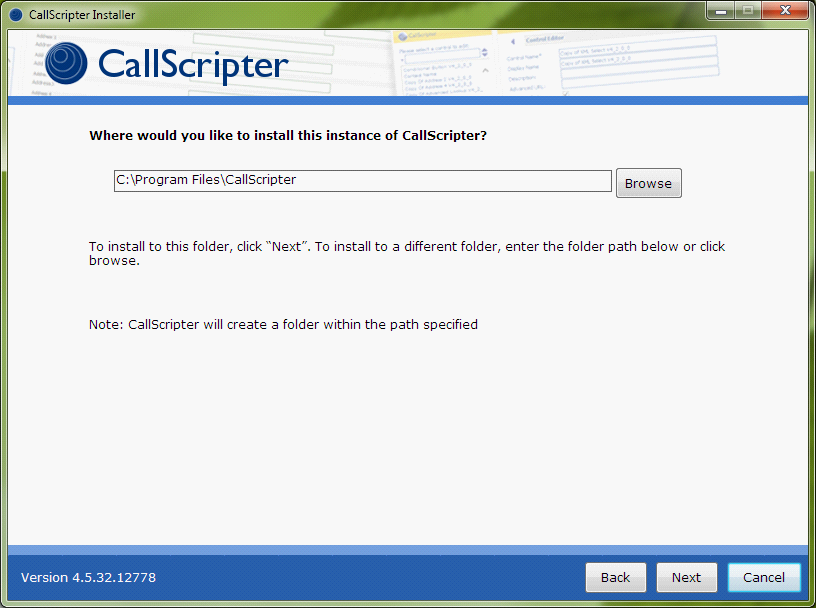
Step 9: Web Files Location
Enter the location where the CallScripter web files should be placed during the installation.
|
Back
|
This will take the user back one stage in the installation process
|
|
Next
|
This will progress the user onto the next stage of the installation
|
|
Cancel
|
This button will exit the installer without installing CallScripter
|
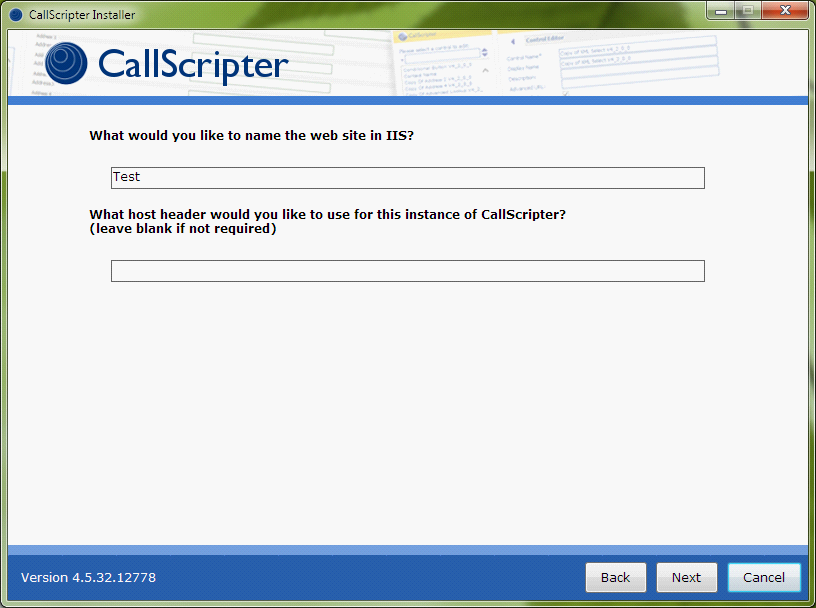
Step 10: Website Name (Custom Install Only)
This option is only presented during a custom installation. If running in typical mode please progress to STEP 12.
Enter the name of the website that is created within IIS to host the CallScripter website. The host header can also be entered at this stage if required. If left blank the host header option will be ignored.
|
Back
|
This will take the user back one stage in the installation process
|
|
Next
|
This will progress the user onto the next stage of the installation
|
|
Cancel
|
This button will exit the installer without installing CallScripter
|
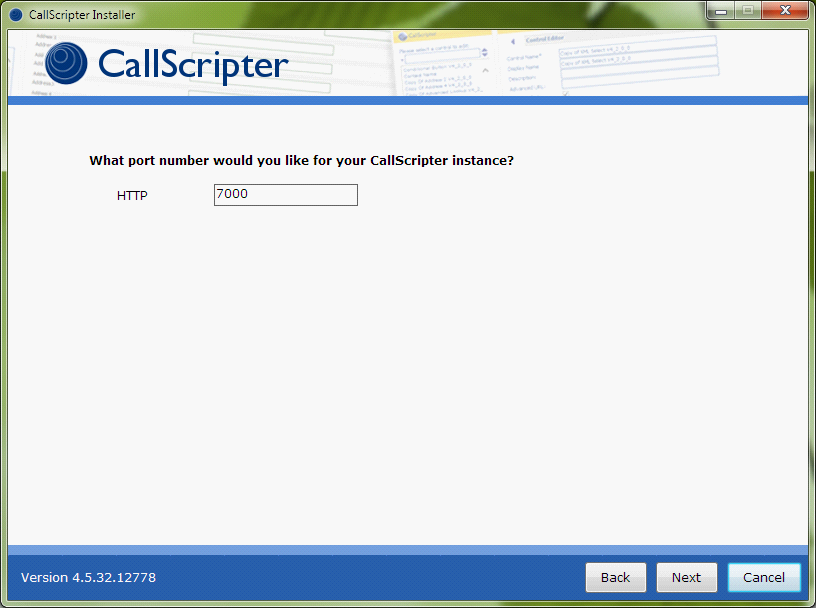
Step 11: Specify Website Port Number (Custom Installs Only)
This option is only presented during a custom installation. If running in typical mode please progress to STEP 12.
Enter the port number that the CallScripter website should reside on in IIS. This port should not already be in use by another website/application.
|
Back
|
This will take the user back one stage in the installation process
|
|
Next
|
This will progress the user onto the next stage of the installation
|
|
Cancel
|
This button will exit the installer without installing CallScripter
|
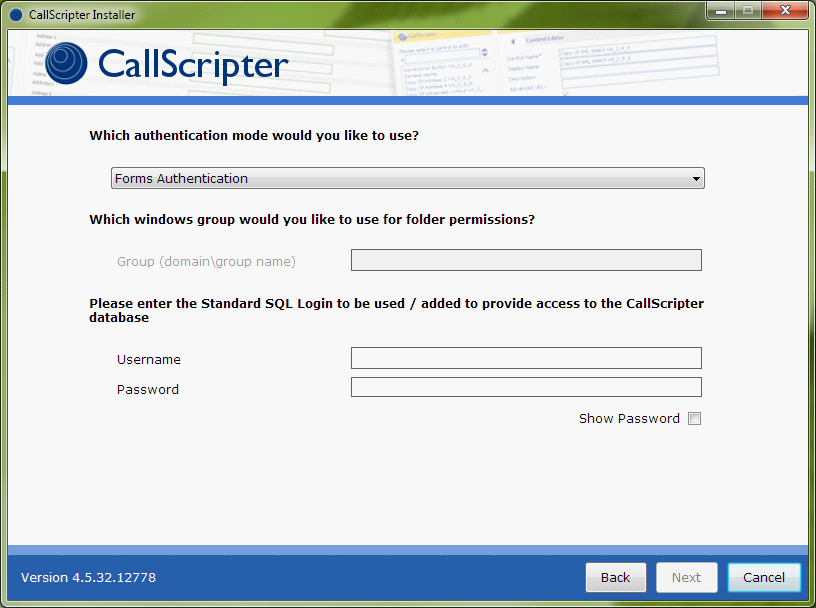
Step 12: Authentication Method
CallScripter is able to run in two modes. One must be chosen and configured during this stage.
|
Forms authentication
|
This will allow a user to log into CallScripter using a CallScripter username and password. All communication between the CallScripter website and the CallScripter database will take place via a single SQL username and password which needs to be entered here. If the username does not already exist on the SQL server it will be created when the installation is carried out
|
|
Windows authentication
|
This will automatically log a user into CallScripter using their NT username and password from their machine log in. When running in this mode all users should be a member of a central CallScripter domain group and the group name will need to be entered to allow authentication. New users will need to be associated with this group as well as manually added to the CallScripter application by a user with administrator permissions/licensing.
Note: If you select Windows Authentication then if your web and SQL elements are on different servers you need to grant AD Delegation for the Web server to the SQL server:
|
|
Group
|
When running in windows authentication the name of the domain group that all users will need to be members of to use the application will need to be stated
|
|
Username
|
When running in forms authentication this will be the SQL username the website will use to access the SQL database
|
|
Password
|
When running in forms authentication this will be the SQL password the website will use to access the SQL database
|
|
Back
|
This will take the user back one stage in the installation process
|
|
Next
|
This will progress the user onto the next stage of the installation
|
|
Cancel
|
This button will exit the installer without installing CallScripter
|
When entering a domain group name the following warning may be presented. To continue click the yes button.
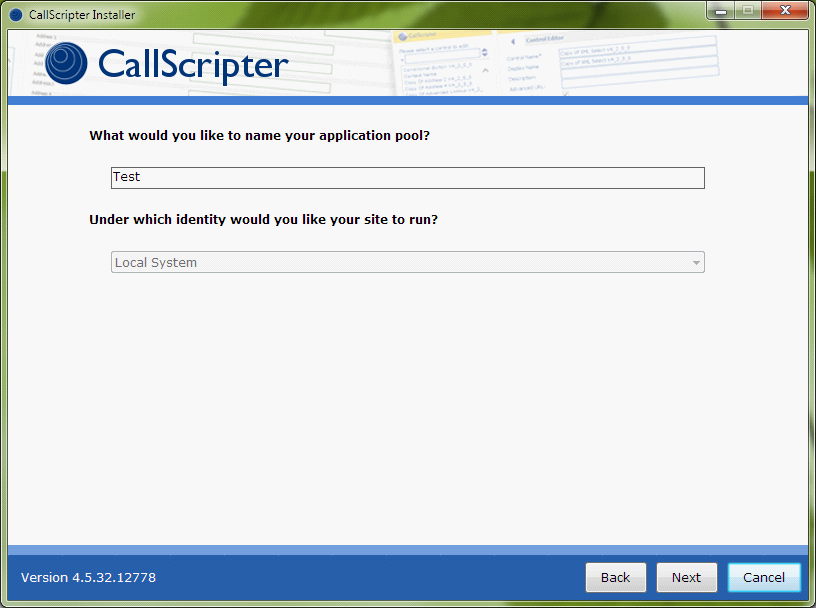
Step 13: Application Pool Name (Custom Install Only)
This option is only presented during a custom installation. If running in typical mode please progress to STEP 15.
Enter the name of the application pool that is created for CallScripter web site within IIS.
|
Application pool name
|
The name of the application pool that will be created in IIS to run the CallScripter website
|
|
Back
|
This will take the user back one stage in the installation process
|
|
Next
|
This will progress the user onto the next stage of the installation
|
|
Cancel
|
This button will exit the installer without installing CallScripter
|
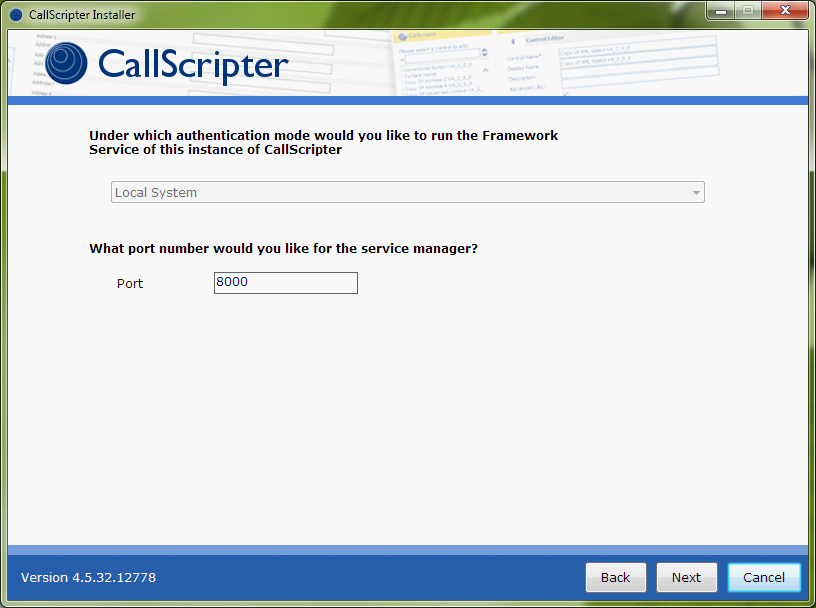
Step 14: Configure Service Manager Port (Custom Install Only)
This option is only presented during a custom installation. If running in typical mode please progress to STEP 15.
Some CallScripter functionality requires windows services to be installed. These are controlled via a central server manager windows service. This service will run on a port number to allow communication. This screen allows you to alter the port number the service manager will be configured to use.
|
Port
|
The port number to run the windows service
|
|
Back
|
This will take the user back one stage in the installation process
|
|
Next
|
This will progress the user onto the next stage of the installation
|
|
Cancel
|
This button will exit the installer without installing CallScripter
|
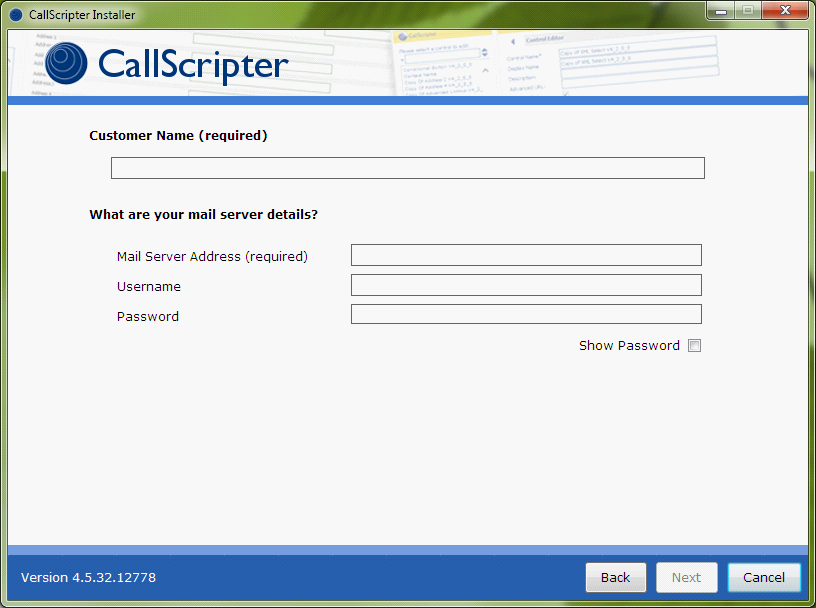
Step 15: Customer Name
Enter the name of the customer/company the installation is being performed for. The installation process also requires that you enter a valid email server that the application will send emails via SMTP relay via. If the mail server requires authentication then a valid username and password should also be entered.
|
Customer name
|
This should be the company name that will be stated in the license agreement
|
|
Mail server
|
The name or IP address of a mail server that can send emails via SMTP relay from the CallScripter web server
|
|
Username
|
Username to authenticate the sending of emails via the mail server
|
|
Password
|
Password to authenticate the sending of emails via the mail server
|
|
Back
|
This will take the user back one stage in the installation process
|
|
Next
|
This will progress the user onto the next stage of the installation
|
|
Cancel
|
This button will exit the installer without installing CallScripter
|
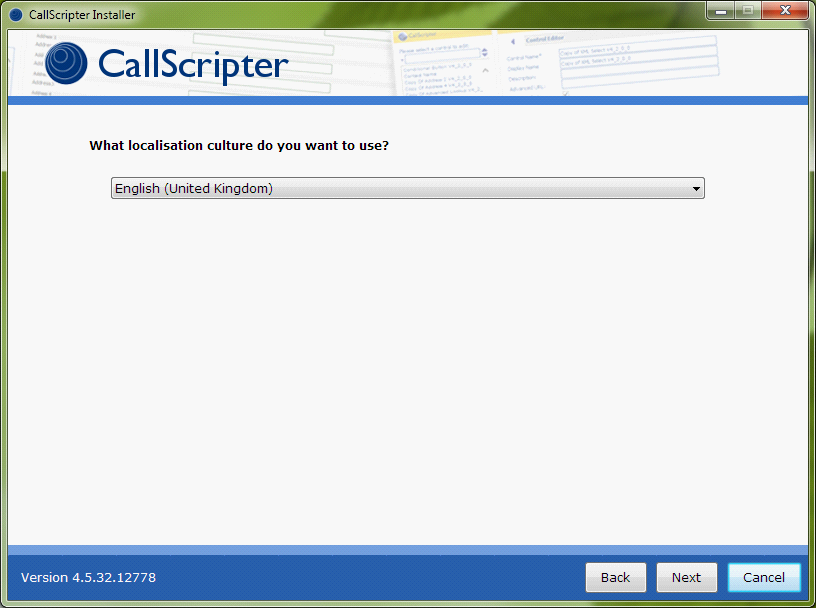
Step 16: Specify Date Format
CallScripter can be installed in UK or US date format scenarios so the relevant localisation that matches your servers should be selected at this stage. If an incorrect format is chosen, warnings will be displayed at the end of the installation process.
|
Localisation
|
Determines if the date format used in the application is dd/MM/yy or MM/dd/yy
|
|
Back
|
This will take the user back one stage in the installation process
|
|
Next
|
This will progress the user onto the next stage of the installation
|
|
Cancel
|
This button will exit the installer without installing CallScripter
|
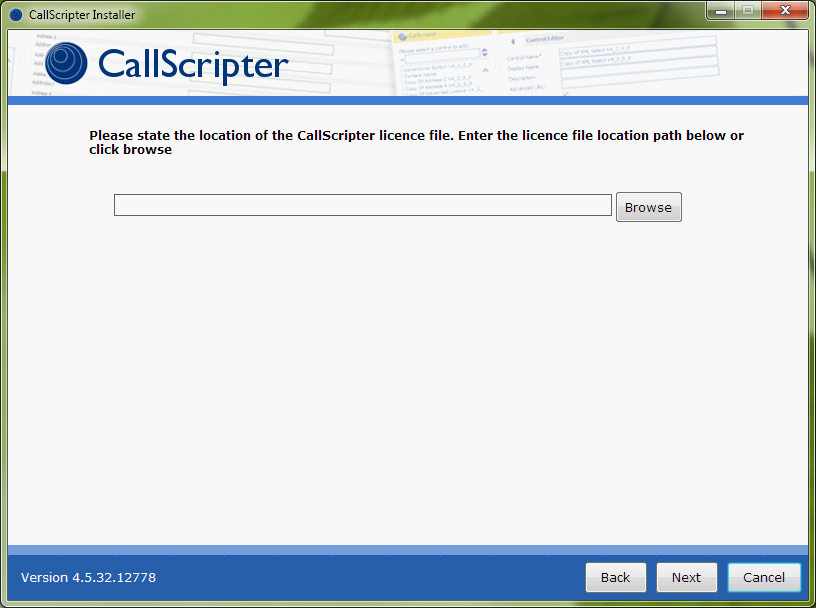
Step 17: Upload License File
A valid CallScripter license file will be needed to progress past this stage. The .csl file will need to be obtained from a valid source and will be specific to the server environment. If no license file, or an invalid license file, is entered at this stage the users will be prevented from using the CallScripter application until a valid license is obtained. License files are version controlled and tied to server environment names.
|
Back
|
This will take the user back one stage in the installation process
|
|
Next
|
This will progress the user onto the next stage of the installation
|
|
Cancel
|
This button will exit the installer without installing CallScripter
|
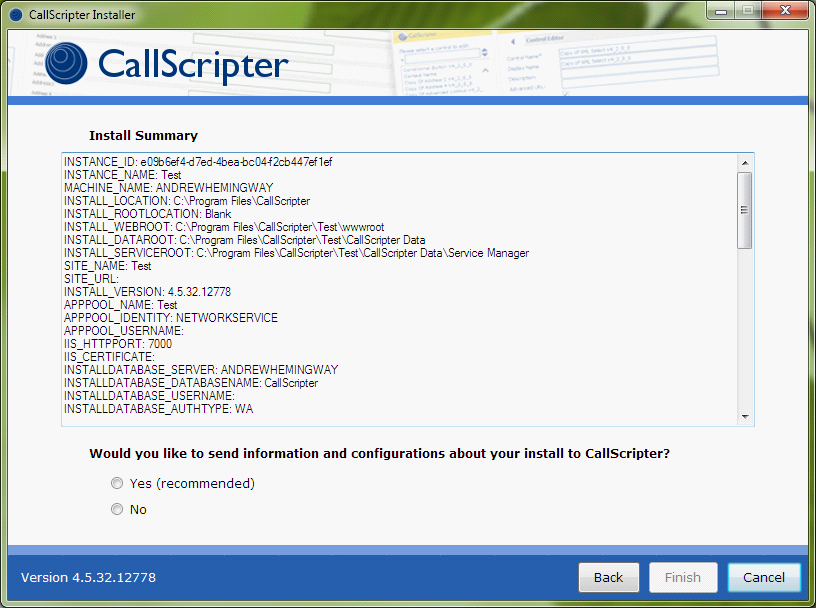
Step 18: Installation Summary
This screen will display a summary of all settings chosen during the installation process. The option to provide feedback to CallScripter is issues arise during the installation process can be set here. If an issue occurs with the installation and the option to provide feedback has been chosen, an email will be sent to CallScripter using the mail server settings stated in STEP 15 with details of issues you have encountered for further enhancements to the installation process.
|
Back
|
This will take the user back one stage in the installation process
|
|
Finish
|
This will progress the user onto the next stage of the installation which will install CallScripter
|
|
Cancel
|
This button will exit the installer without installing CallScripter
|
Step 19: Installation Progress
The installer will indicate its progress via this screen. Please wait whilst the installation is completed. During this phase the IIS server will be configured and the CallScripter website will be created. The database will also be remote configured to support the application and permissions and the supporting windows services will be installed on the web server.
Note: If there were any issues or concerns during the installation process, warnings will be displayed on screen with additional actions that need to be performed post install.
Installation Complete
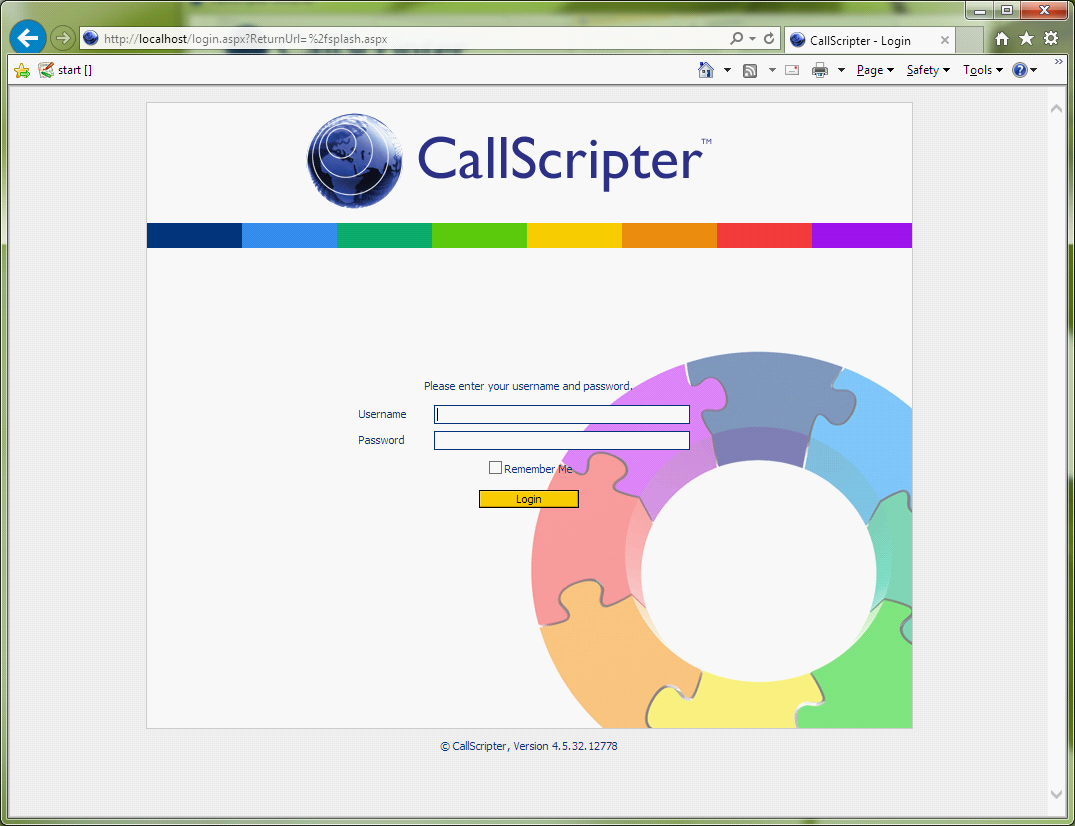
After the installation process has been successfully completed the CallScripter application can be launched via a PC running Internet Explorer, by navigating to the CallScripter URL. This is usually the name or IP address of the CallScripter web server followed by the port number stated in STEP 11.
Note: If CallScripter is configured to run in forms authentication mode then the user will be prompted to enter a username and password. The default user that is setup with the installation process is Admin. The password should be left blank.
If running CallScripter in windows authentication mode the user that performed the installation must open the browser on a machine logged in with their user credentials. This will automatically log them in and will not prompt them for a CallScripter username and password
 4.5.53 for Interactive Intelligence